Advanced Beginner’s Guide To Headshot Portraiture
This article builds on the ideas discussed in last week’s blog post: 3 Essential Tips for Headshot Portraiture in Natural Light. Go back and refresh your memory before reading on. It’s ok, I’ll wait.
In this post we will cover additional technical aspects to consider when creating a headshot portrait. At this point you have experimented with finding clean backgrounds, good quality natural light, and shooting from different vantage points. Now use the ideas below to take your photos to the next level.
Clean backgrounds are key. Wait a minute, isn’t this the first tip in the previous post? Yes. Because it is that important. A clean background separates your headshot portrait from a snapshot. You have an opportunity to choose between an environmental portrait where you shoot on location, or in a studio against a backdrop.
Last time we looked for clean backgrounds in the environment. We scoped out a nice clean wall, or a row of foliage, or a busy city street. We put thought into where we framed the subject’s head. This week we will try shooting against a solid backdrop. This doesn’t need to be a formal photography backdrop, any solid color indoor wall will work. Most people have access to a plain white wall.
If you choose to buy a backdrop, I recommend seamless paper. It is available in a variety of colors and sizes. If you are planning to shoot at home, the smaller rolls of paper are more manageable. I like the 53″ wide rolls by Savage. The paper is a nice thickness and it stores easily enough behind the couch when not in use. White, Black, and Grey are the most popular colors.
Get some gaffer’s tape and affix the paper to a wall or door. With this simple solution you can have a perfectly clean background. If you get a crease in the paper don’t worry about it, just cut that piece off and roll out some more.
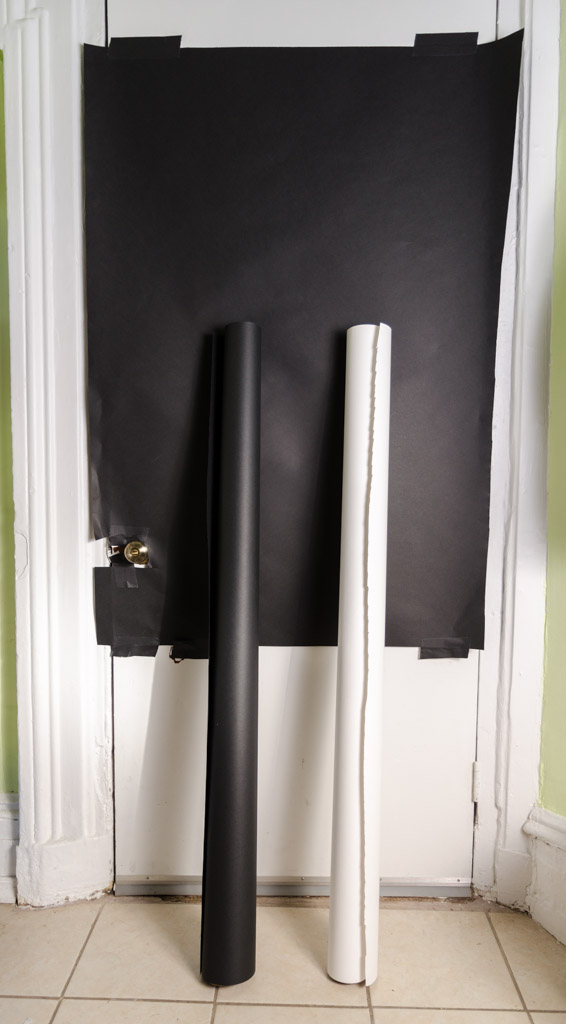
Roll of Black and White Seamless Paper – Black Paper Taped to Door
Shallow depth of field. This is up to personal taste, but consider what look you want to achieve. If you shoot your fancy prime lens wide open at f1.4 you may have trouble getting one eye in focus. Close down to f11 and everything will be in sharp focus. What look are you going for?
Having the entire subject in focus can be a nice look. Having a shallow depth of field with just the eyes (or only the closer eye to the camera) in focus can also look terrific. Experiment with depth of field until you understand what you like and what you wish to achieve. I find shallow depth of field is nice for more casual / playful shots. I prefer deeper depth of field for more corporate / traditional images.
Link to depth of field calculator.
For my headshot portraits, I tend to favor a shallower depth of field most of the time. I prefer around f2.8 on a full frame camera (~85mm lens), or f2-f2.2 on a crop sensor (~50mm lens). Regardless of what aperture you select, getting the eyes in focus is critical for a headshot. Take the time to learn how your autofocus system works and ensure you are nailing focus on the eyes.

Shoot Through Umbrella to Camera Left, White Wall Background – f9.0
Chin out! No one likes turkey necks on pictures of themselves. As a photographer it is your duty to get the best out of your subject. Remind them that the camera only works in 2 dimensions. It may feel funny sticking their neck out, but this will improve their appearance to the camera. Have them extend their face toward the camera in an effort to stretch out the skin under their neck and create a more defined jaw line. A good cue to give is “move your forehead toward the camera”. Observe the differences in your subjects appearance and coach them into a position that is most flattering for them. Here is a great video on this topic by Peter Hurley.
Flash lighting. I prefer flash for nearly all the headshots I take indoors, and even many I take outdoors. I like the controllability and consistency I get with flash. If I want to take a nice soft lit portrait at 10pm, I can do that with flash. I don’t need to wait for the sun to be at the perfect angle or an exact time of the day.
For headshots I like soft light. I like it to be directional to help define face and jaw line. I typically start with soft light on one side of face. To create soft light I fire a flash unit into a shoot-through umbrella, or umbrella softbox. I will place the soft light source as close as possible to the subject without interfering with the image framing. To create directionality I place the light to the side of subject, at approximately a 45 degree angle and slightly higher than eye level. Experiment with moving the light source around and observe how it changes the look of the pictures.

Shoot-Through Umbrella Partially Closed To Camera Left, Black Seamless Background – f2.2
Consider reflectors to add fill light. A reflector doesn’t have to be a fancy product. White posterboard, tin foil sheets, a white t-shirt, towel or bed sheet can work. With just one light there will be shadows on the non-lit side of the face. You may like this look, but also try some shots with a reflector on the dark side of the face. Then try adding a second soft light on to illuminate the shadow side. Also try making the shadow side hard light rather than soft, to add some extra definition and edginess. By hard light I mean firing a flash without an umbrella or other lighting modifier.

Shoot-Through Umbrella Above With White Foam-Board Reflector Below, White Seamless Background – f2.8
Equipment used in photographs: